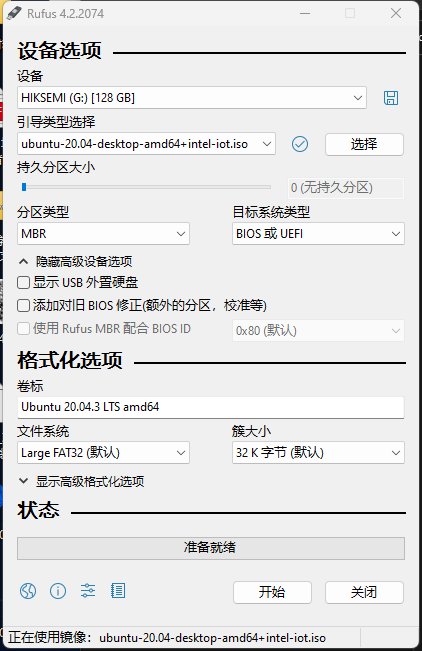
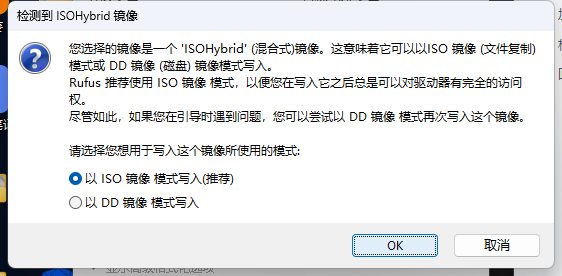
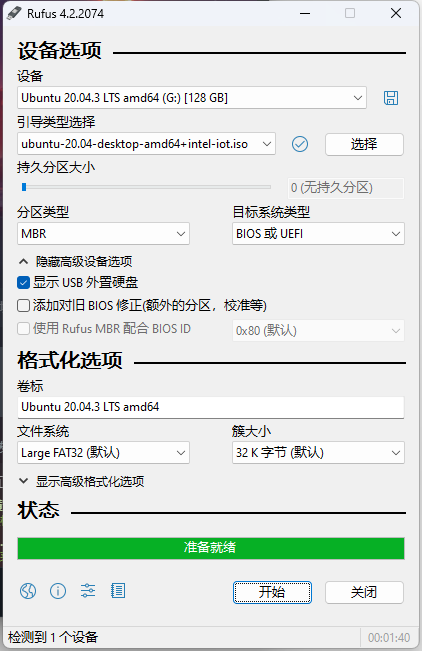
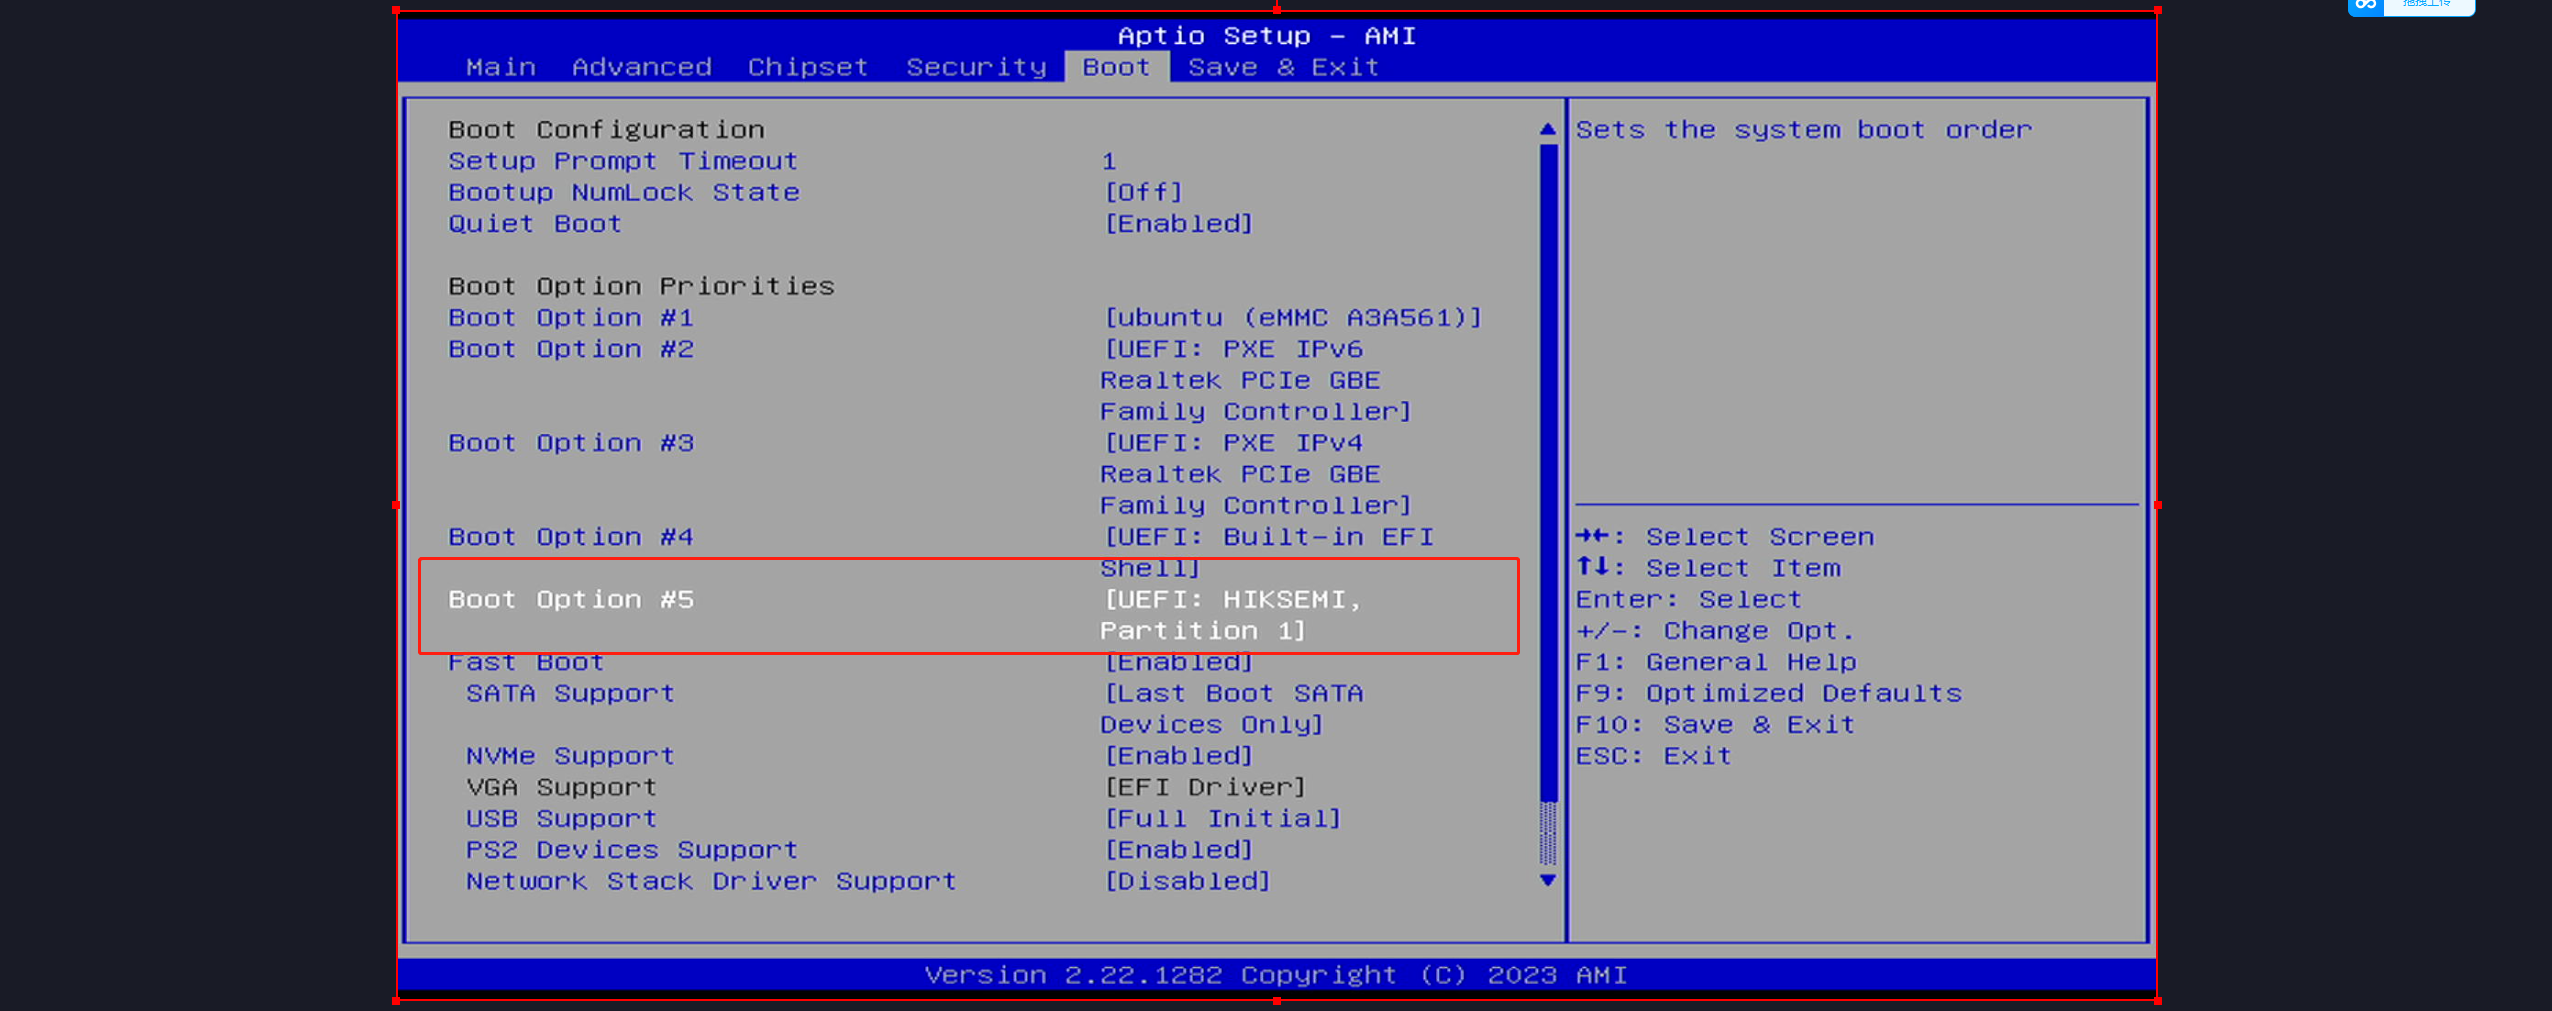
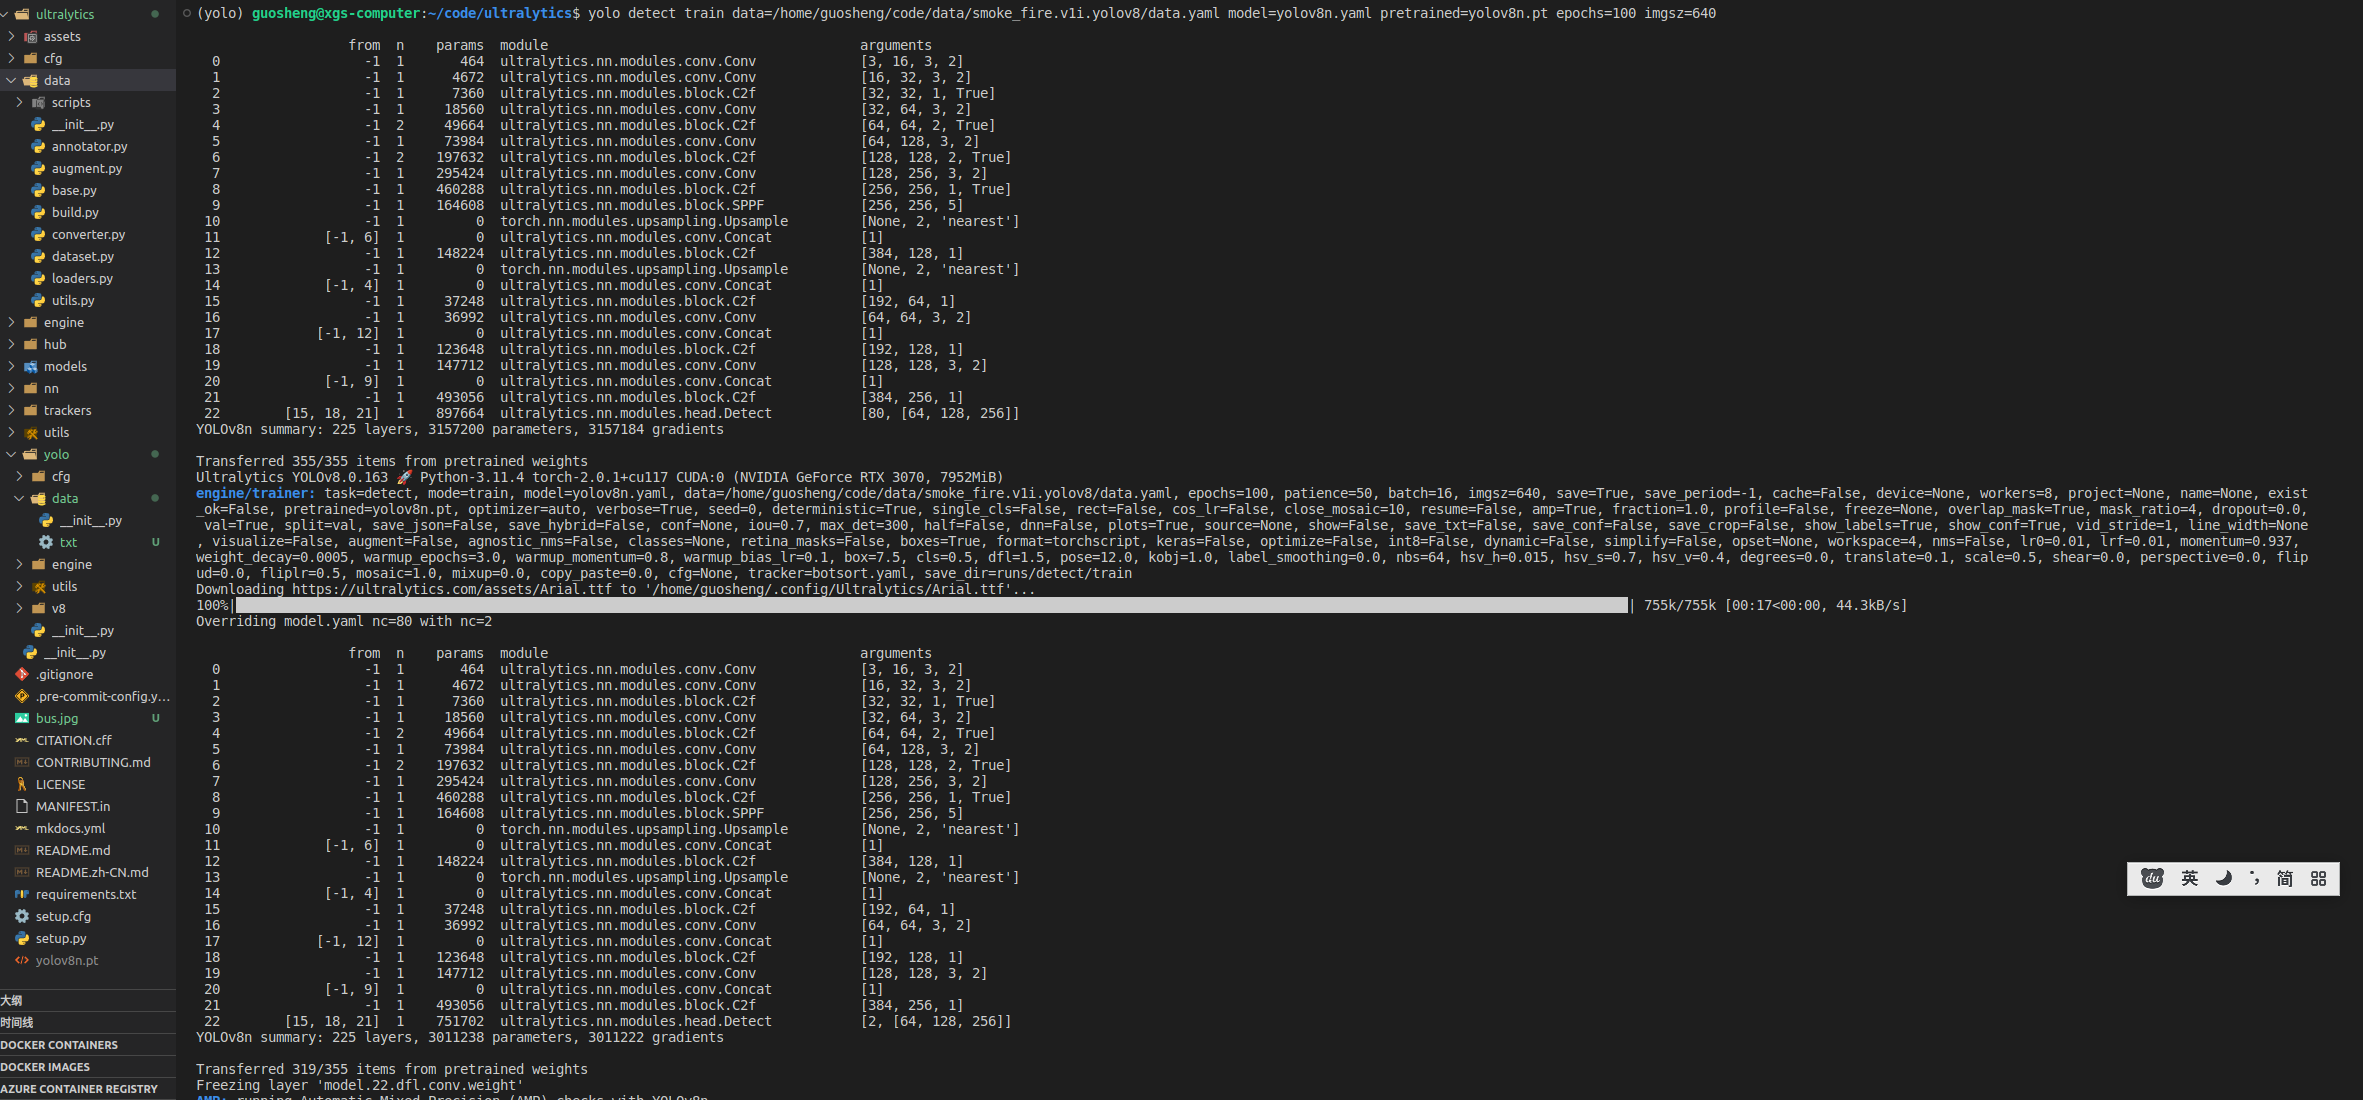
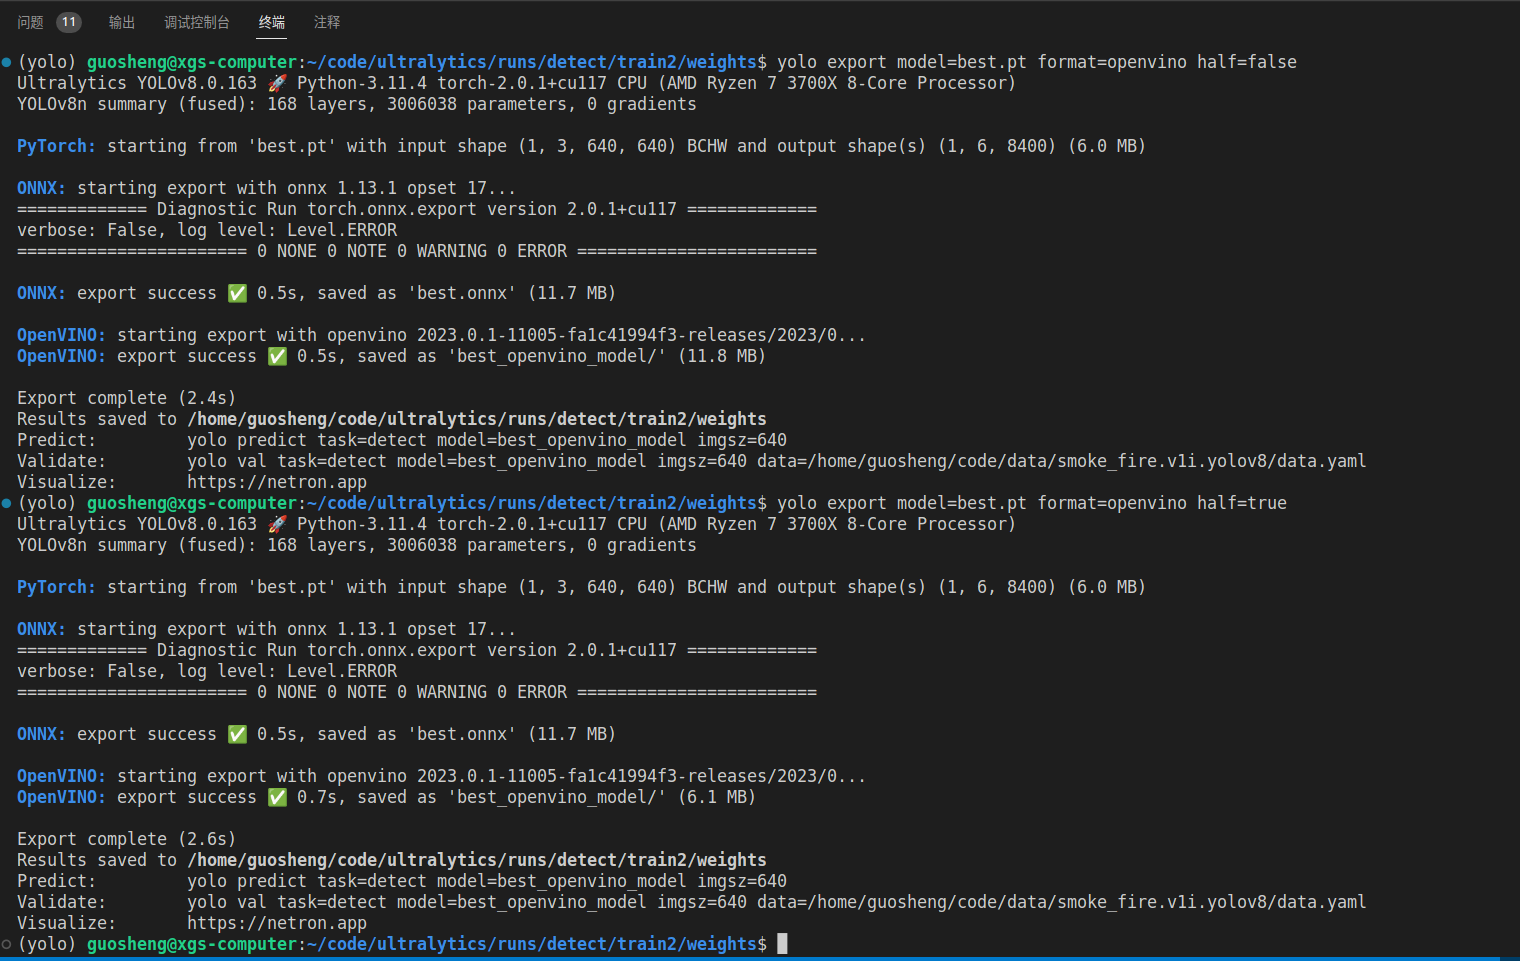
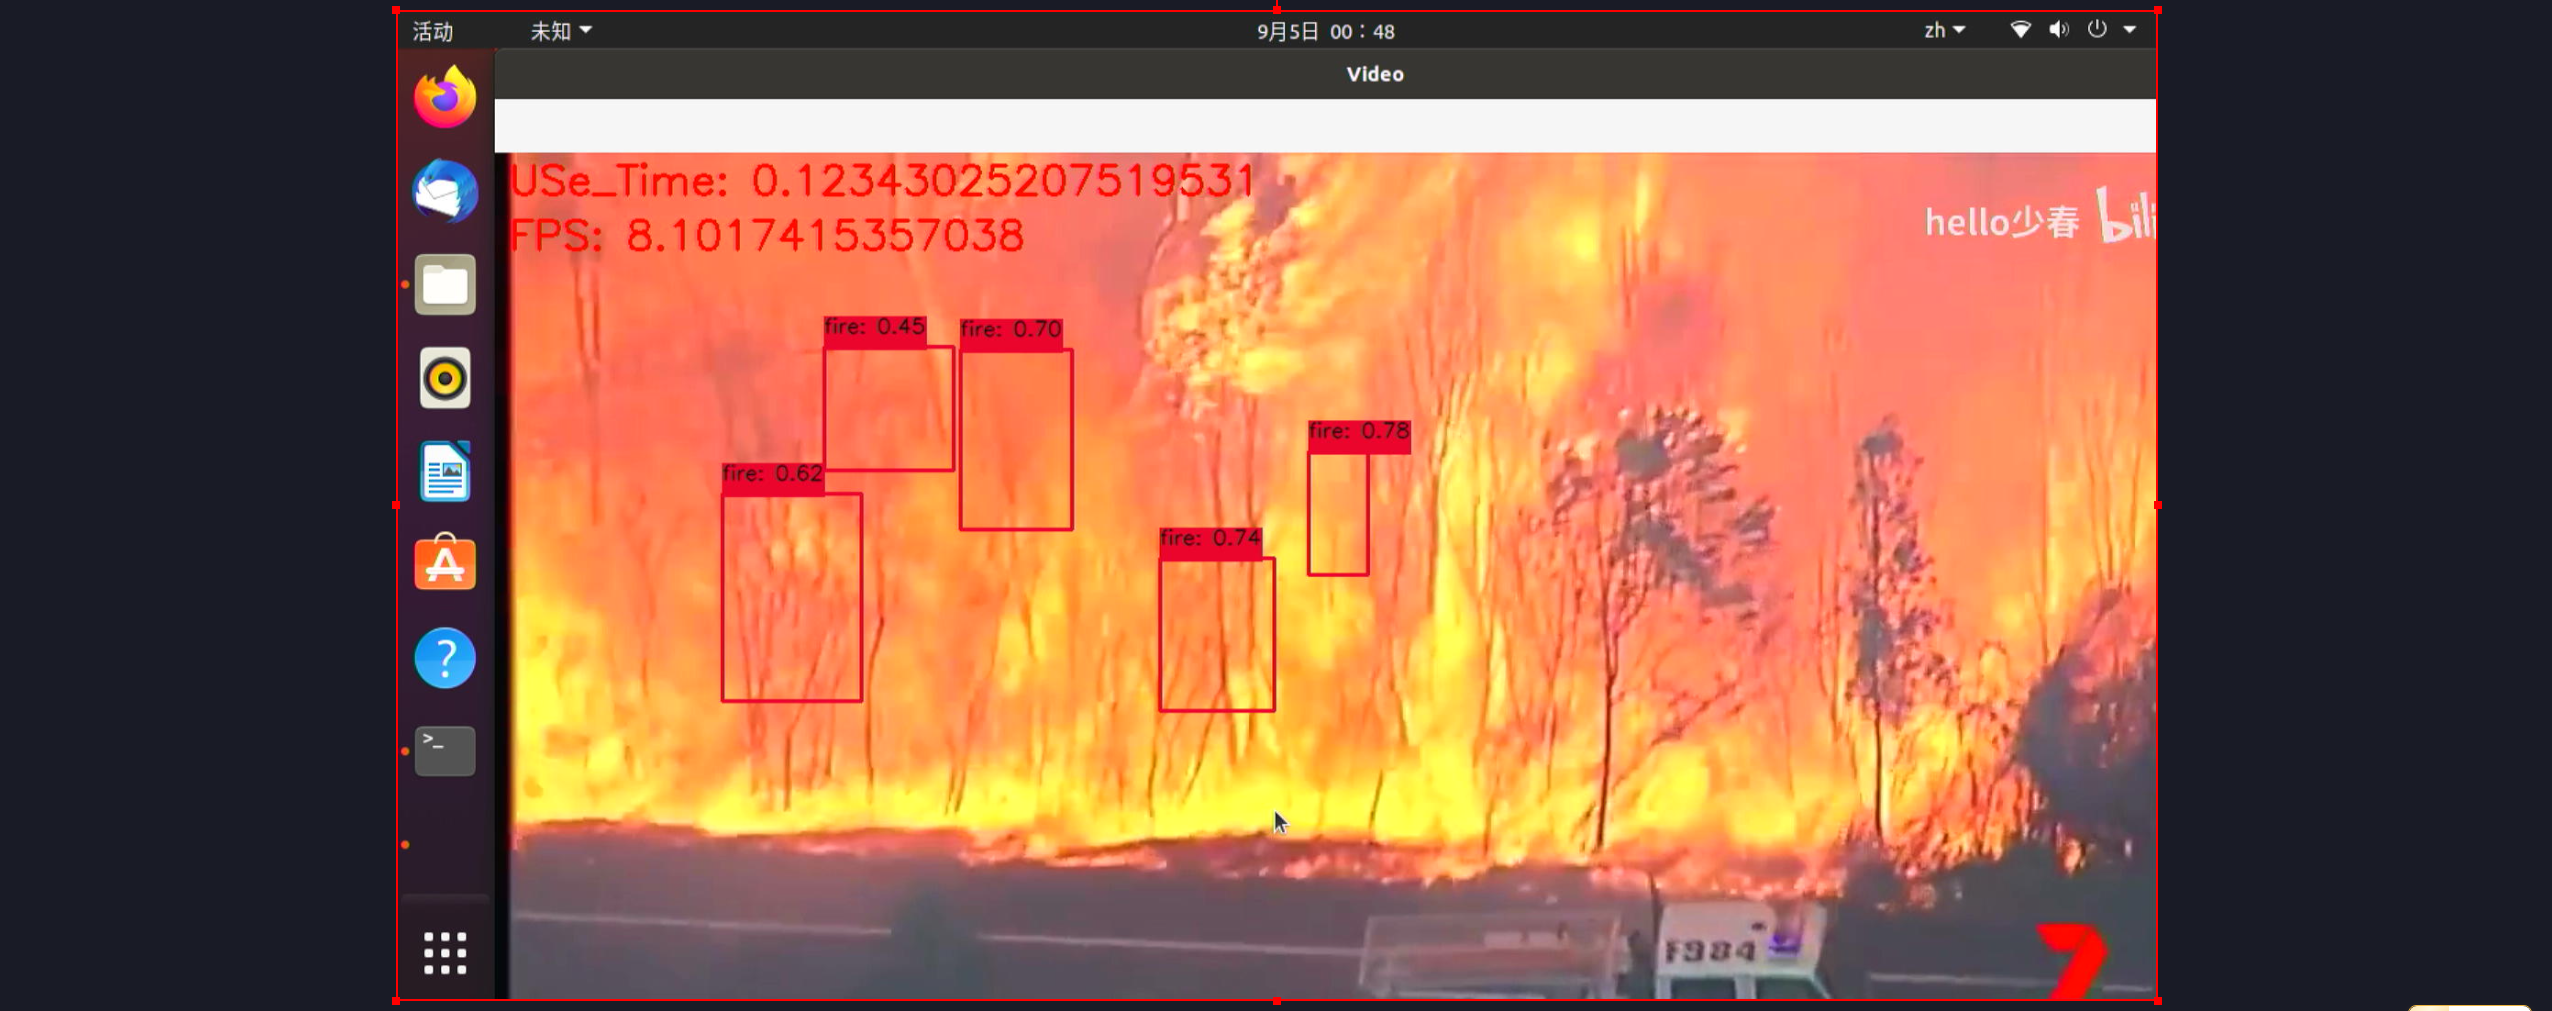
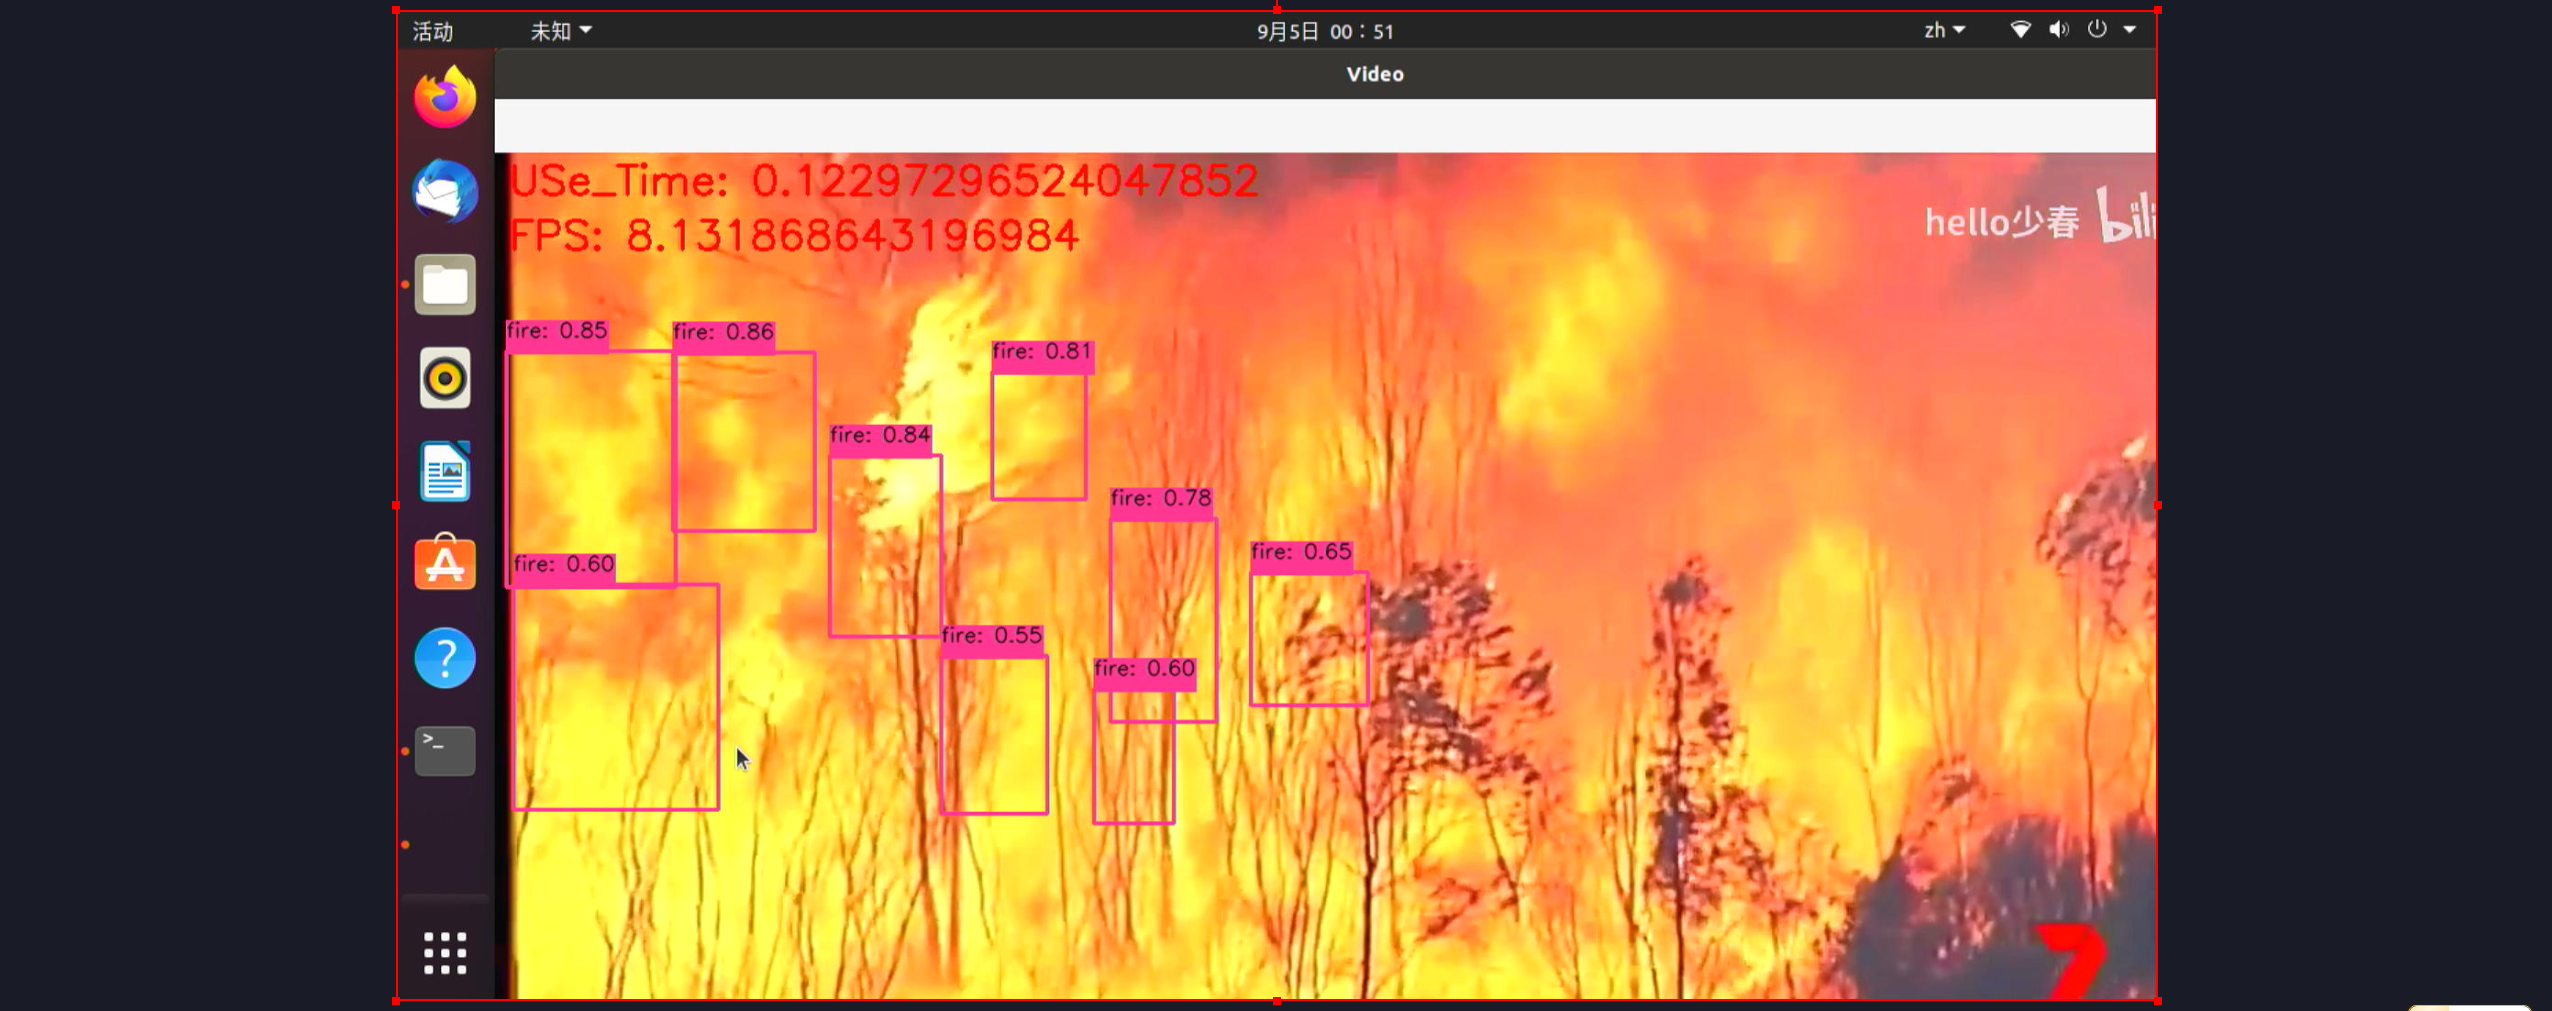
转化的时候有一个小插曲,缺失onnx,直接安装即可
conda install onnx=1.13 pip install openvino-dev途中可以看出,半精度的转化更慢一些,需要进行量化,把以前的fp32的数据压缩成fp16,需要用到各种数据统计的算法,所以耗时更多,但是由于模型本身很小,所以感受的不是很直观,整体加了0.2s,另外就是,整个流程其实是两个步骤,先转成onnx,然后转成了openvino的模型,也是大部分模型量化中转的方案,模型的大小基本上是压缩成一半左右,精度掉点相对较少,具体可以实际测试
上板部署:
from openvino.runtime import Core, Model
import numpy as np
import cv2
import numpy as np
from PIL import Image
from typing import Tuple
import time


IMAGE_PATH = '/home/xgs/**oke_fire/weight***est_openvino_model/110.jpg'

core = Core()
det_model_path = '/home/xgs/**oke_fire/weight***est_openvino_model/best.xml'
det_ov_model = core.read_model(det_model_path)
if not "CPU":
    det_ov_model.reshape({0: [1, 3, 640, 640]})
det_compiled_model = core.compile_model(det_ov_model, 'GPU')
color_palette = np.random.uniform(0, 255, size=(2, 3))
result_classes = ['fire','**oke']
img_width =640
img_height=640

def preprocess_image(img0: np.ndarray):
    """
    Preprocess image according to YOLOv8 input requirements.
    Takes image in np.array format, resizes it to specific size using letterbox resize and changes data layout from HWC to CHW.

    Parameters:
      img0 (np.ndarray): image for preprocessing
    Returns:
      img (np.ndarray): image after preprocessing
    """
    # resize
    img = letterbox(img0)[0]

    # Convert HWC to CHW
    img = img.transpose(2, 0, 1)
    img = np.ascontiguousarray(img)
    return img

def image_to_tensor(image:np.ndarray):
    """
    Preprocess image according to YOLOv8 input requirements.
    Takes image in np.array format, resizes it to specific size using letterbox resize and changes data layout from HWC to CHW.

    Parameters:
      img (np.ndarray): image for preprocessing
    Returns:
      input_tensor (np.ndarray): input tensor in NCHW format with float32 values in [0, 1] range
    """
    input_tensor = image.astype(np.float32)  # uint8 to fp32
    input_tensor /= 255.0  # 0 - 255 to 0.0 - 1.0

    # add batch dimension
    if input_tensor.ndim == 3:
        input_tensor = np.expand_dims(input_tensor, 0)
    return input_tensor

def letterbox(img: np.ndarray, new_shape:Tuple[int, int] = (640, 640), color:Tuple[int, int, int] = (114, 114, 114), auto:bool = False, scale_fill:bool = False, scaleup:bool = False, stride:int = 32):
    """
    Resize image and padding for detection. Takes image as input,
    resizes image to fit into new shape with saving original aspect ratio and pads it to meet stride-multiple constraints

    Parameters:
      img (np.ndarray): image for preprocessing
      new_shape (Tuple(int, int)): image size after preprocessing in format [height, width]
      color (Tuple(int, int, int)): color for filling padded area
      auto (bool): use dynamic input size, only padding for stride constrins applied
      scale_fill (bool): scale image to fill new_shape
      scaleup (bool): allow scale image if it is lower then desired input size, can affect model accuracy
      stride (int): input padding stride
    Returns:
      img (np.ndarray): image after preprocessing
      ratio (Tuple(float, float)): hight and width scaling ratio
      padding_size (Tuple(int, int)): height and width padding size


    """
    # Resize and pad image while meeting stride-multiple constraints
    shape = img.shape[:2]  # current shape [height, width]
    if isinstance(new_shape, int):
        new_shape = (new_shape, new_shape)

    # Scale ratio (new / old)
    r = min(new_shape[0] / shape[0], new_shape[1] / shape[1])
    if not scaleup:  # only scale down, do not scale up (for better test mAP)
        r = min(r, 1.0)

    # Compute padding
    ratio = r, r  # width, height ratios
    new_unpad = int(round(shape[1] * r)), int(round(shape[0] * r))
    dw, dh = new_shape[1] - new_unpad[0], new_shape[0] - new_unpad[1]  # wh padding
    if auto:  # minimum rectangle
        dw, dh = np.mod(dw, stride), np.mod(dh, stride)  # wh padding
    elif scale_fill:  # stretch
        dw, dh = 0.0, 0.0
        new_unpad = (new_shape[1], new_shape[0])
        ratio = new_shape[1] / shape[1], new_shape[0] / shape[0]  # width, height ratios

    dw /= 2  # divide padding into 2 sides
    dh /= 2

    if shape[::-1] != new_unpad:  # resize
        img = cv2.resize(img, new_unpad, interpolation=cv2.INTER_LINEAR)
    top, bottom = int(round(dh - 0.1)), int(round(dh + 0.1))
    left, right = int(round(dw - 0.1)), int(round(dw + 0.1))
    img = cv2.copyMakeBorder(img, top, bottom, left, right, cv2.BORDER_CONSTANT, value=color)  # add border
    return img, ratio, (dw, dh)


def draw_detections( img, box, score, class_id):
        """
        Draw***ounding boxes and labels on the input image based on the detected objects.

        Args:
            img: The input image to draw detections on.
            box: Detected bounding box.
            score: Corresponding detection score.
            class_id: Class ID for the detected object.

        Returns:
            None
        """

        # Extract the coordinates of the bounding box
        x1, y1, w, h = box

        # Retrieve the color for the class ID
        color = color_palette[class_id]

        # Draw the bounding box on the image
        cv2.rectangle(img, (int(x1), int(y1)), (int(x1 + w), int(y1 + h)), color, 2)

        # Create the label text with class name and score
        label = f'{result_classes[class_id]}: {score:.2f}'

        # Calculate the dimensions of the label text
        (label_width, label_height), _ = cv2.getTextSize(label, cv2.FONT_HERSHEY_SIMPLEX, 0.5, 1)

        # Calculate the position of the label text
        label_x = x1
        label_y = y1 - 10 if y1 - 10 > label_height else y1 + 10

        # Draw a filled rectangle as the background for the label text
        cv2.rectangle(img, (label_x, label_y - label_height), (label_x + label_width, label_y + label_height), color,
                      cv2.FILLED)

        # Draw the label text on the image
        cv2.putText(img, label, (label_x, label_y), cv2.FONT_HERSHEY_SIMPLEX, 0.5, (0, 0, 0), 1, cv2.LINE_AA)


def postprocess( input_image, output):
        # detections = postprocess(pred_boxe***oxes, input_hw=input_hw, orig_img=image, pred_mask***asks)

    """
    Performs post-processing on the model's output to extract bounding boxes, scores, and class IDs.

    Args:
        input_image (numpy.ndarray): The input image.
        output (numpy.ndarray): The output of the model.

    Returns:
        numpy.ndarray: The input image with detections drawn on it.
    """

    # Transpose and squeeze the output to match the expected shape
    outputs = np.transpose(np.squeeze(output[0]))

    # Get the number of rows in the outputs array
    rows = outputs.shape[0]

    # Lists to store the bounding boxes, scores, and class IDs of the detections
    boxes = []
    scores = []
    class_ids = []

    # Calculate the scaling factors for the bounding box coordinates
    x_factor = 1
    y_factor = 1

    # Iterate over each row in the outputs array
    for i in range(rows):
        # Extract the class scores from the current row
        classes_scores = outputs[i][4:]

        # Find the maximum score among the class scores
        max_score = np.amax(classes_scores)

        # If the maximum score is above the confidence threshold
        if max_score >= 0.3:
            # Get the class ID with the highest score
            class_id = np.argmax(classes_scores)

            # Extract the bounding box coordinates from the current row
            x, y, w, h = outputs[i][0], outputs[i][1], outputs[i][2], outputs[i][3]

            # Calculate the scaled coordinates of the bounding box
            left = int((x - w / 2) * x_factor)
            top = int((y - h / 2) * y_factor)
            width = int(w * x_factor)
            height = int(h * y_factor)

            # Add the class ID, score, and box coordinates to the respective lists
            class_ids.append(class_id)
            scores.append(max_score)
            boxes.append([left, top, width, height])

    # Apply non-maximum suppression to filter out overlapping bounding boxes
    indices = cv2.dnn.NMSBoxe***oxes, scores, 0.3, 0.45)

    # Iterate over the selected indices after non-maximum suppression
    for i in indices:
        # Get the box, score, and class ID corresponding to the index
        box = boxes[i]
        score = scores[i]
        class_id = class_ids[i]

        # Draw the detection on the input image
        draw_detections(input_image, box, score, class_id)

    # Return the modified input image
    return input_image

def detect(image:np.ndarray, model:Model):
    """
    OpenVINO YOLOv8 model inference function. Preprocess image, run***odel inference and postprocess results using NMS.
    Parameters:
        image (np.ndarray): input image.
        model (Model): OpenVINO compiled model.
    Returns:
        detections (np.ndarray): detected boxes in format [x1, y1, x2, y2, score, label]
    """
    num_outputs = len(model.outputs)
    preprocessed_image = preprocess_image(image)
    input_tensor = image_to_tensor(preprocessed_image)
    result = model(input_tensor)
    boxes = result[model.output(0)]
    detections = postprocess(image,result )
    # detections = postprocess(pred_boxe***oxes, input_hw=input_hw, orig_img=image, pred_mask***asks)

    return detections


# sing image_infernce
# input_image = np.array(Image.open(IMAGE_PATH))
# img = detect(input_image, det_compiled_model)
# img = cv2.cvtColor(img,cv2.COLOR_RGB2BGR)
# cv2.imwrite("img.jpg",img)

# video infernce

# 打开视频
video_capture = cv2.VideoCapture('/home/xgs/110.mp4')  # 替换为您的视频文件路径
# 检查视频是否成功打开
if not video_capture.isOpened():
    print("无法打开视频文件")
    exit()

# 获取视频的帧率
fps = int(video_capture.get(cv2.CAP_PROP_FPS))

while True:
        # 记录图像处理开始时间
    start_time = time.time()

    # 逐帧读取视频
    ret, frame = video_capture.read()
    img = cv2.cvtColor(frame,cv2.COLOR_RGB2BGR)


    # 如果视频结束或无法读取帧,退出循环
    if not ret:
        break

    # 在这里可以对每一帧进行处理,例如显示、保存或进行分析
    # 例如,将每一帧显示在一个窗口中
    img = detect(img, det_compiled_model)
    img = cv2.cvtColor(img,cv2.COLOR_RGB2BGR)

    # 计算图像处理时间
    end_time = time.time()
    processing_time = end_time - start_time
    cv2.putText(img, f"FPS: {1/processing_time}", (10, 70), cv2.FONT_HERSHEY_SIMPLEX, 1, (0, 0, 255), 2)
    cv2.putText(img, f"USe_Time: {processing_time}", (10, 30), cv2.FONT_HERSHEY_SIMPLEX, 1, (0, 0, 255), 2)


    cv2.imshow('Video', img)

    # 如果按下'q'键,退出循环
    if cv2.waitKey(1) & 0xFF == ord('q'):
        break

# 释放视频捕获对象和关闭窗口
video_capture.release()
cv2.destroyAllWindows()


